Monthly Archives

August 2018

7 Wonders custom board samples.

How to make custom boards for 7 Wonders

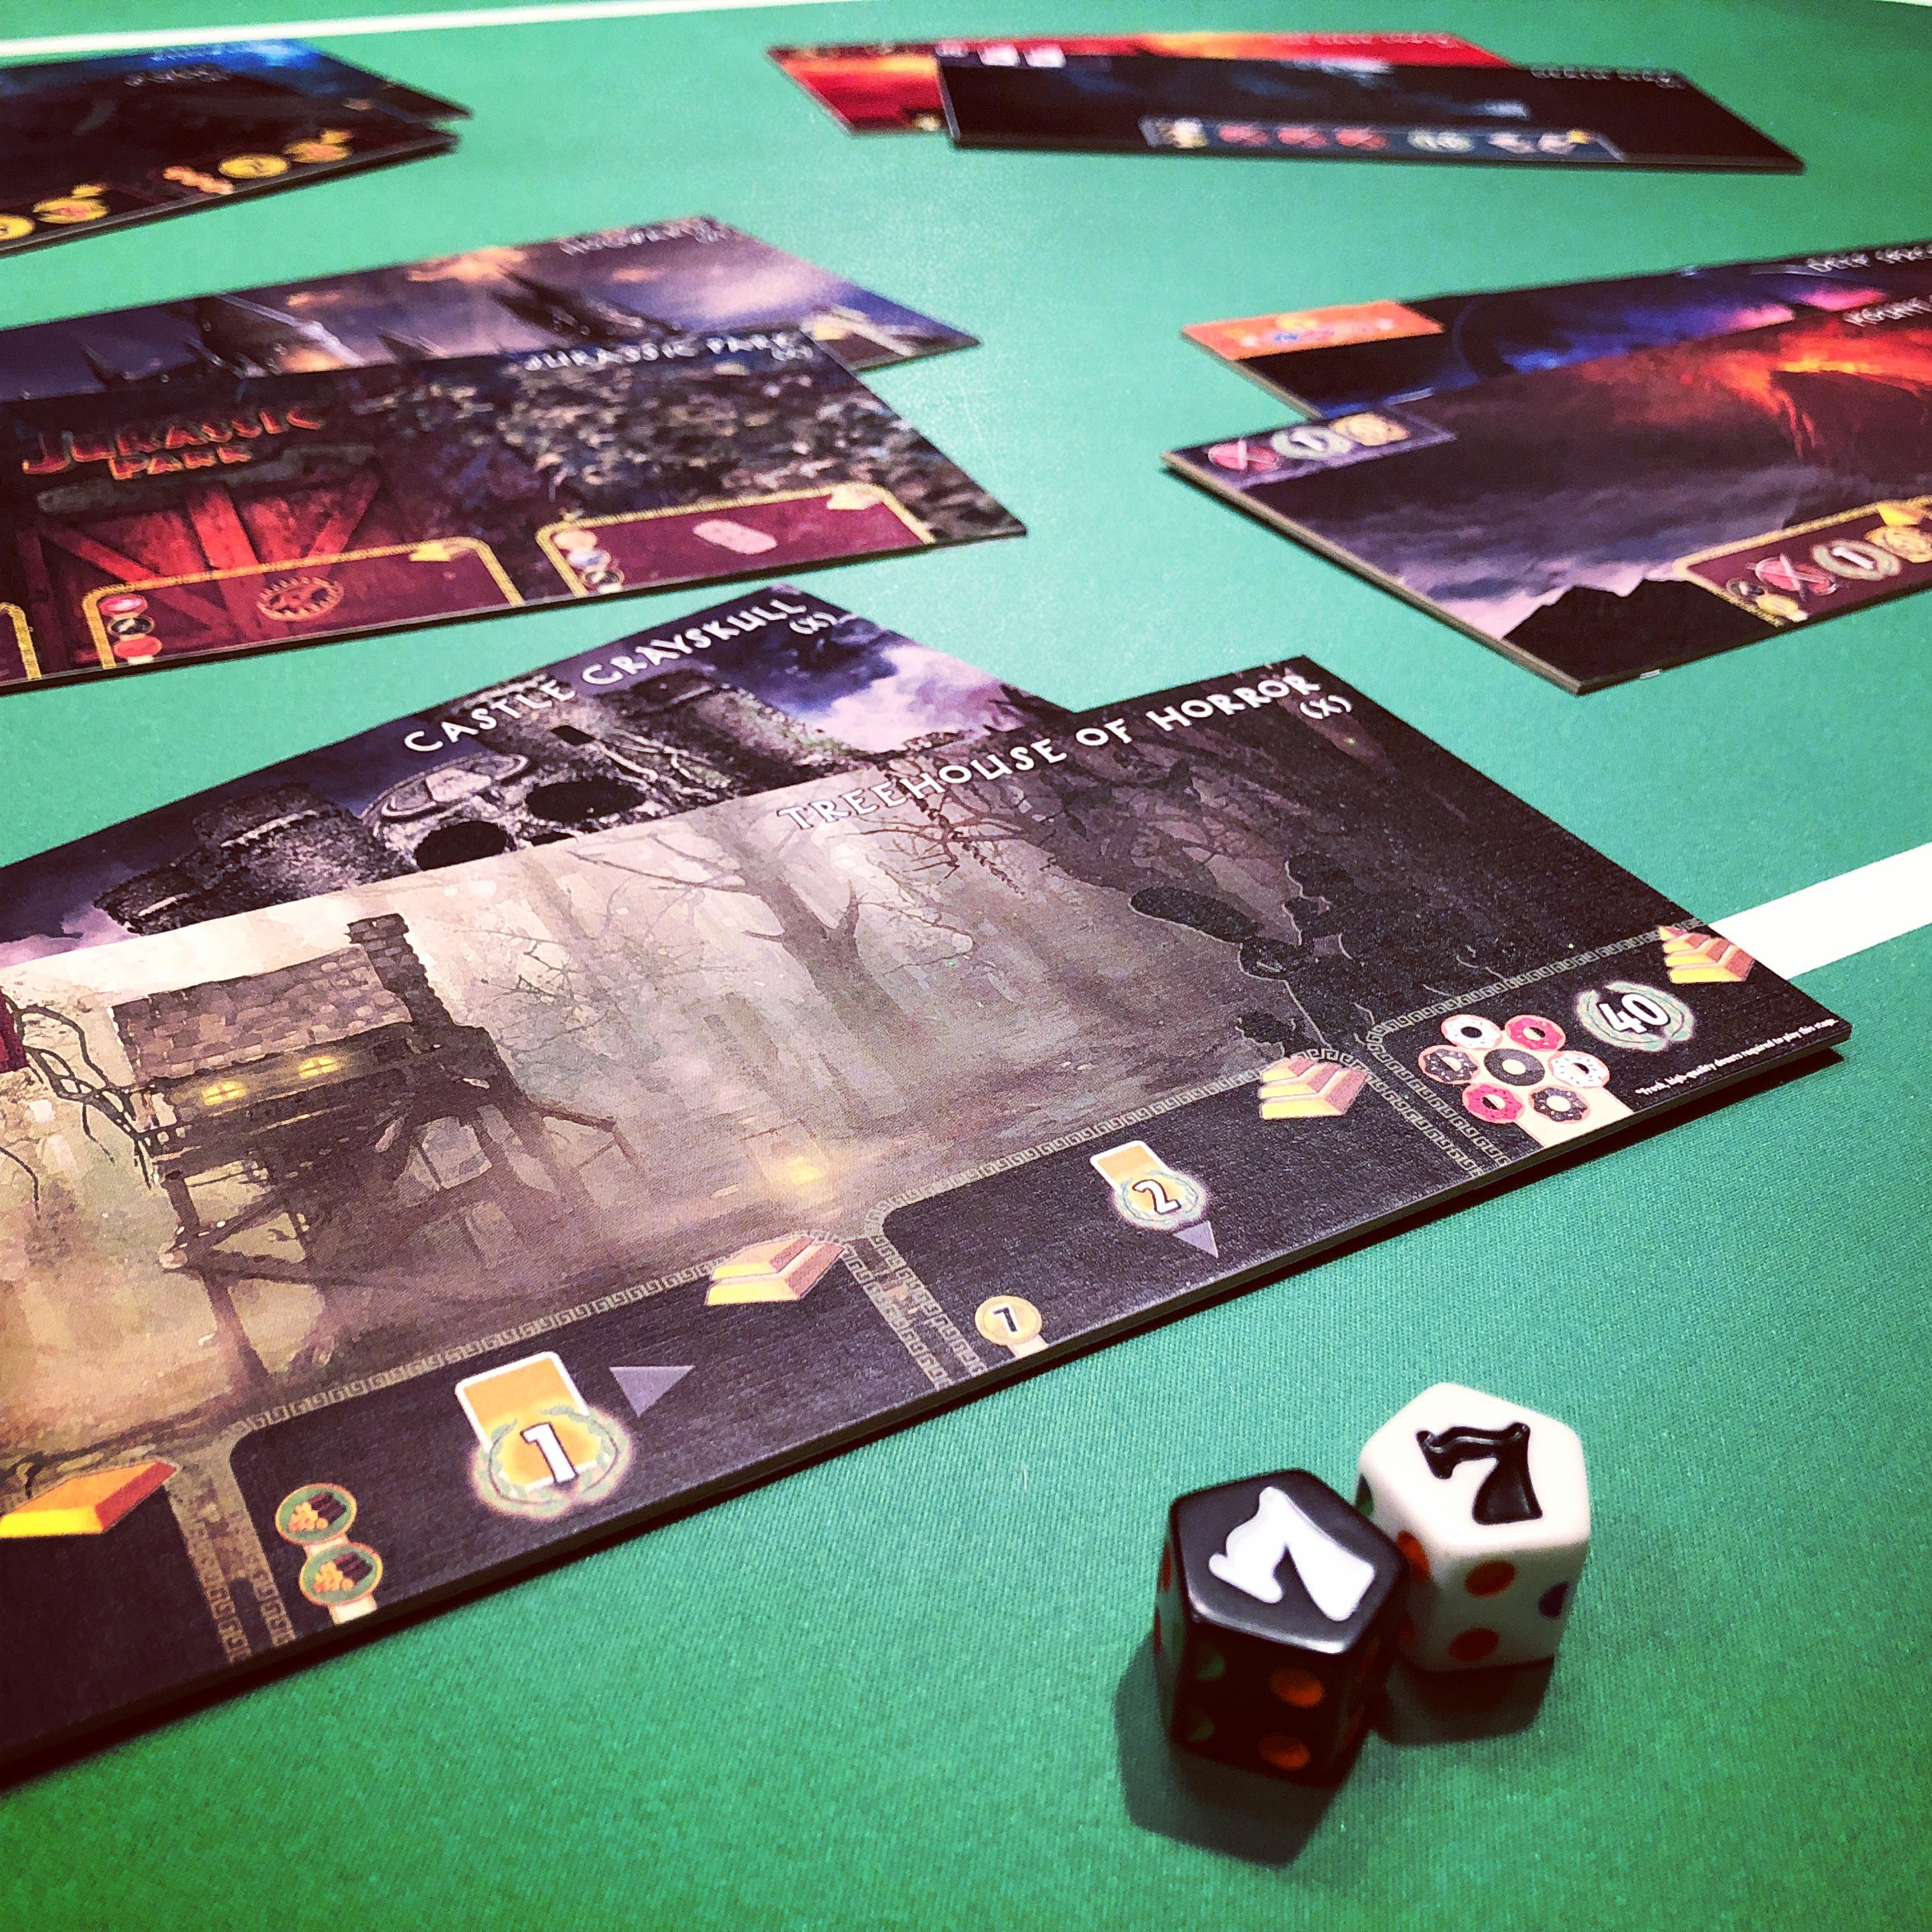
I’m just a little obsessed with 7 Wonders.

I own and love all the expansions (except Babel). I’ve gifted 7 Wonders at least a half dozen times. My co-workers and I sometimes play at lunch or happy hour. I’ve considered entering the 7 Blunders competition at PAX East. And I’ve figured out how to make pretty good looking custom boards for 7 Wonders.

Now? Now I’m blogging about how to make pretty good looking custom boards for 7 Wonders.

Impulse purchase time!

Let’s break this down into a giant, well-organized bulleted list, because that’s how I do.

Custom Death Star 7 Wonders board concept.

Mad disclaimers, yo.

Before we go any further, I feel compelled to make a few disclaimers.

First off, please be good dudes and dudettes. If you search around Google and eBay you’ll find plenty of bad dudes and dudettes trying to make money off of someone else’s intellectual property and/or someone else’s hard work and creativity. Like Aurélien, please make these boards out of love. Give credit where it’s due. And if you’re going to go public with your designs, please share for free.

I’m going to say it right now, I am definitely NEVER going to publish hi-res, printable files of my completed designs. Why? I’ve borrowed art from a huge number of talented artists who probably never intended for their art to end up on a 7 Wonders board. And so, all of my designs are never for sale and are intended for personal use only.

I may consider sharing my PSD template someday, but I do think there’s a lot to be said for figuring some things out for yourself. Wizcreations and Aurélien have already done the majority of the heavy lifting for the rest of us.

What’s next?

Here is a very high-level breakdown of my process:

  1. Create an efficient Photoshop template. This includes setting up guides where they need to go; measuring and placing design components; meticulously aligning things for accuracy; identifying font sizes and kerning; building folders and subfolders to keep things organized; etc.
  2. Design the board. This includes identifying art that will suit your theme; planning out the stages of the monuments and thinking through game balance; making good color choices for the monument stages and their borders; etc.
  3. Generate a printable file. This includes flattening your board design into a single image that you can place into a PDF file for a printer.
  4. Print! Aurélien suggests a glossy paper, but I really like how my boards came out on linen. It just looks right when you set them next to the official boards.
  5. Playtest. Honestly, I don’t play test until the board is completely finished because I want an authentic experience. But unless you want to repeat the assembly process multiple times, it probably makes sense to playtest and edit before mounting and sealing.
  6. Cut and mount. This includes  Mod Podge-ing your design onto chipboard and meticulously cutting your mounted design. Be warned that some printers will offset the printed image slightly (this happened to me). So if you’re making double-sided boards, make sure the cuts align correctly on both sides. Otherwise you’ll you need to cut, mount, and then cut again to make sure the front and back are flush.
  7. Spray seal!

Until next time…

That’s all you’re getting out of me in this post. I’ll start writing up some detailed techniques as I write up individual boards in future posts.

In the meantime, I highly recommend reading some of the links I’ve included above and looking at other fan-made expansions. Build upon the knowledge of others and add to that knowledge base if you’re so inclined.

7 Wonders custom back for CthulhuAdoresHasselhoff.