Cards Against Humanity recently had an open call for submissions which reminded me that I’d never posted about my very first foray into making custom game expansions three years ago. I decided to try my hand at making custom Cards Against Humanity cards for my Virginia Beach gaming friends-that-are-basically-family. After all, why wouldn’t you want cards that mention your friends by name?
Working backwards against humanity.
As opposed to what the cards would actually say, I started with “how the heck am I going to print cards that have the right size, right texture, and right per-unit pricing that won’t cost me a crap-ton to produce a small run of cards?” After using my mad Google skills, I discovered that Printer’s Studio can print custom content onto premium 310gsm linen-textured 63x88mm cards. Furthermore, you can customize the fronts AND backs of each individual card so that you can make your custom white and black Cards Against Humanity cards all in one go!
Production checklist against humanity.
- Crafting Supplies
- None, because Printer’s Studio is doing all of the physical goods production for you.
- Files
- Printer’s Studios Photoshop template (standard poker-sized).
- Max Miedinger’s/Linotype Design Studio’s Neue Helvetica 75 Bold font.
- Or just use another similar sans serif font like or Helvetica or Arial.
- Alternatively, if you ever intend to publicly distribute your cards, you may want to REALLY differentiate your product with a dramatically different font.
- If you’re really ambitious, you could try this old code I stumbled across in GitHub.
- Software
- Adobe Photoshop (the $9.99/month 20GB photography plan is more firepower than you’ll need).
- Feeling cheap? Go with GIMP instead.
- Intangibles
- A sick sense of humor.
- Human sounding-boards.
- Time.
Disclaimers against humanity.
Before we go any further, I want to list a few disclaimers:
- Please don’t steal. That includes intellectual property.
- Be smart and don’t get sued. Here’s an interesting article with law words and here’s one about “bullying copycats.”
- Do it because you love it, not because you’re trying to be a table-top-game-bijillionaire.
- I will NEVER sell my grossly infringing cards as they’re intended for personal use ONLY. (However, if I have a really great idea for way less infringe-y cards, I WOULD consider that.)
What’s next against humanity?
Here’s a high-level breakdown of my process:
- Create an accurate Photoshop template. Do yourself a favor and measure better than I did and set up your guides appropriately. I started my text right at the “safe” dotted red line when I really needed to allow for more white space around the borders. Use a ruler, write down the measurements, and change your Photoshop ruler to inches instead of pixels. Make sure you’re working with a 300dpi file.
- Layers are your friends! Save every distinct card’s text as its own layer in case you need to go back and change stuff. It makes like dramatically easier.
- Keep your template organized. Use folders and layers. Lots of them.
- Birth your own brand. In the category of “please don’t steal”, make your own brand even if you’re just doing it for personal use.
- Design the card back. With your brand birthed in a disturbingly wet and messy push, design a back for your cards. Remember to do it with white-on-black and black-on-white.
- Prepare for print. Save every unique card front and back as a separate flattened file. PNGs work just fine.
- Set up your project and purchase! Once you have your project all set up and you’ve THOROUGHLY QAed your work, submit your order.
PS against humanity.
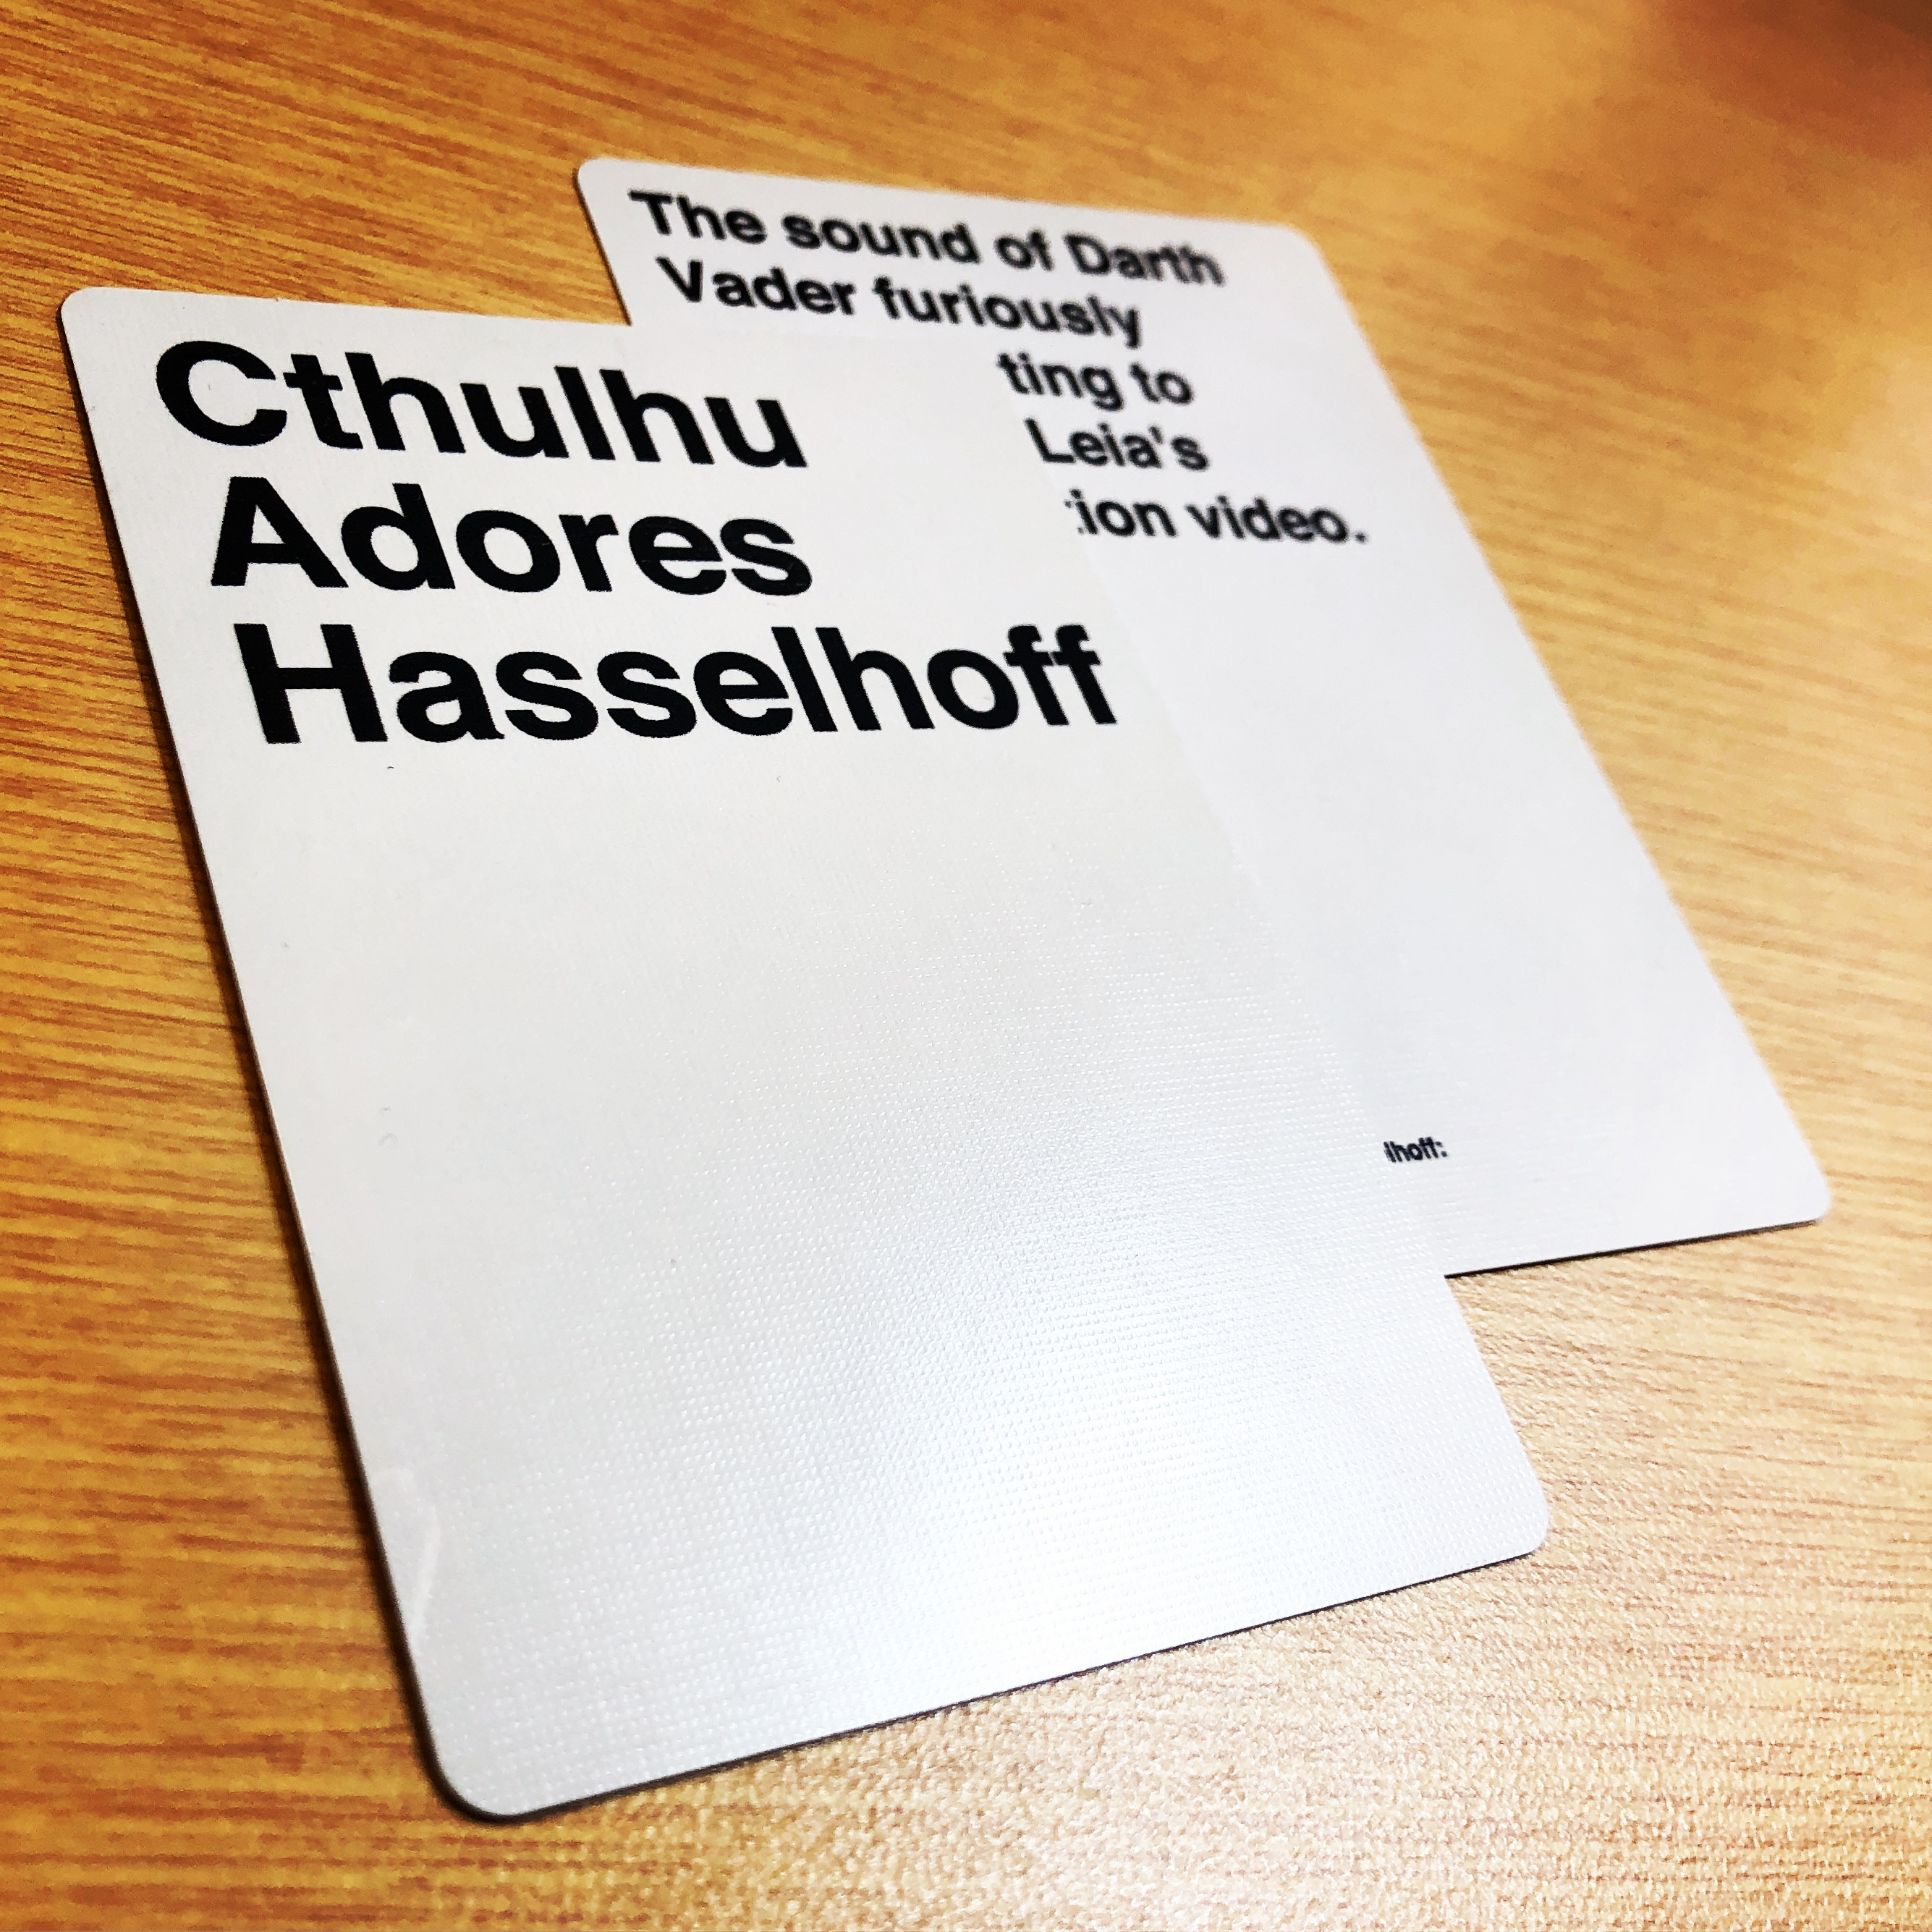
In case you’re wondering what my example card says, I’ll give you a hint. Two of the missing words are “Princess” and “interrogation”. You can fill in that first blank yourself.